
There is something satisfying about making soap by hand.
The warmth of the melted base. The slow swirl of color. The first scent that rises as fragrance meets steam. Then the final pour, smooth and glossy, settling into shape.
Melt & pour soap making is one of the easiest ways to begin creating custom soaps without handling lye or building formulas from scratch. It is approachable, creative, and surprisingly refined.
At The Essential Oil Company, we believe making should feel simple, rewarding, and open to anyone curious enough to begin.
Whether you are crafting gifts, building a small product line, or making your first batch on a quiet afternoon, this guide will show you how to use melt & pour soap bases with confidence.
What Is Melt & Pour Soap?
Melt & pour soap is a pre-made soap base designed to be gently melted, customized, and poured into molds.
You begin with a professionally formulated base, then make it your own with:
- fragrance oils
- essential oils
- colorants
- botanicals
- exfoliants
- layered designs
- custom molds
It offers the creativity of handmade soap without the complexity of cold process methods.
Why Makers Love Melt & Pour Soap
Melt & pour remains one of the most popular soap-making methods for a reason.
Fast Results
You can make finished bars in a single afternoon.
Beginner Friendly
No lye handling. No cure time. No advanced equipment.
Beautiful Customization
Create clear bars, creamy white bars, botanical blends, gift soaps, or branded collections.
Ideal for Small Businesses
Perfect for testing scents, seasonal launches, party favors, and artisan collections.
What You Need to Get Started
Most tools are already in your kitchen.
Materials
- Melt & pour soap base
- Fragrance oil or essential oil
- Soap-safe colorant
- Optional additives (oats, botanicals, exfoliants)
Tools
- Double boiler or heat-safe bowl over saucepan
- Knife for cutting base
- Silicone spatula
- Thermometer
- Soap molds
- Isopropyl alcohol in spray bottle
- Measuring cup or pouring pitcher
- Latex gloves
Quick Start: How to Make Melt & Pour Soap

Image courtesy of Stephenson Soaps
Step 1: Cut the Base
- Slice the soap base into small cubes, roughly 1” or 2.5 cm. Smaller pieces melt faster and more evenly.
Step 2: Melt Gently
- Use a double boiler for the best control, or microwave in short 15 to 20 second intervals, stirring between each round.
Temperature Guide
- Begins melting around 130°F
- Fully melted around 140°F
Avoid overheating. Excess heat can discolor the soap or evaporate moisture from the base.
Step 3: Add Fragrance
- Once slightly cooled but still fluid, stir in your fragrance.
-
For 1 pound (16 oz) of soap base, start with:
- 1 to 3 teaspoons fragrance oil
- or 20 to 60 drops essential oil
- Adjust to preference and always test small batches first.
Have fragrance prepared ahead of time so the soap doesn’t start to harden. It is important to only use glass when blending fragrance oil as it can damage certain types of plastic and paper if it sits for a long period of time.
Step 4: Add Color
- Add color gradually, drop by drop, stirring until you reach the desired tone.
- For softer bars, use muted hues. For bold statement soaps, build slowly and layer intentionally.
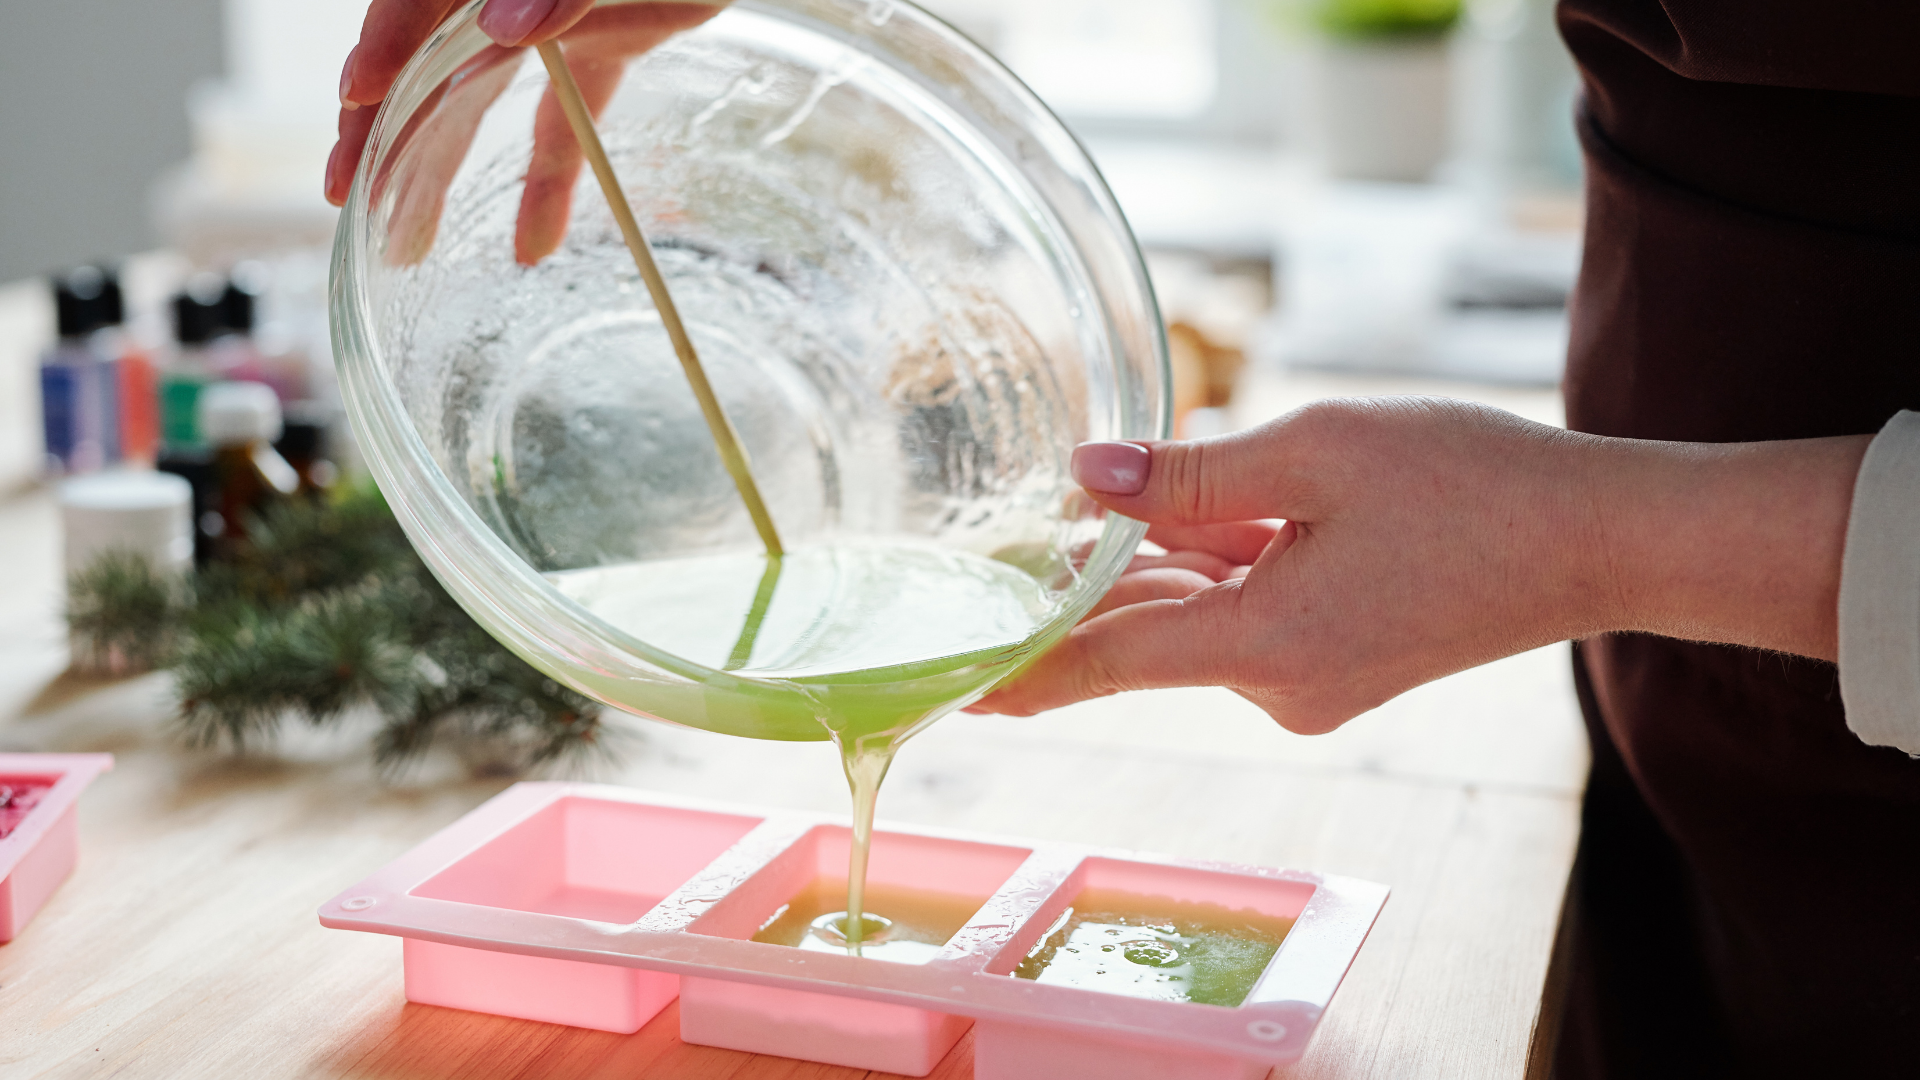
Step 5: Pour into Molds
- Ideal pouring temperature is around 135°F.
- Pour steadily into molds. Use a mold that can withstand higher temperatures so it doesn’t melt when pouring hot soap. It also needs to be flexible so it’s easy to unmold.
- Spritz the surface with alcohol to remove bubbles. Over spraying will cause the soap to foam.
Step 6: Cool and Unmold
- Allow bars to fully harden. Depending on mold size and room temperature, this may take a few hours.
- If bars resist release, let them cool longer or place molds in the freezer for 10 minutes.
How Many Bars Does 1kg Make?
Approximate yield depends on mold size.
|
Soap Size |
Approximate Yield |
|
125g bar |
8 bars |
|
100g bar |
10 bars |
|
60g guest bar |
16 bars |
A 1kg base is excellent for gifting, seasonal launches, or testing multiple scent variations.
Choosing the Right Soap Base
Crystal Natural White
Smooth, creamy, opaque bars with excellent color payoff.
Best for:
- floral soaps
- pastel bars
- clean branded designs
- gift-ready collections
Crystal Natural Transparent
Clear bars with beautiful depth and jewel-tone color possibilities.
Best for:
- layered soaps
- suspended botanicals
- translucent color work
- decorative bars
- Crystal Triple Butter
Rich with shea, cocoa, and mango butters.
Best for:
- spa collections
- moisturizing bars
- premium gifting
- soft skin feel
Pro Tips for Better Soap Every Time
Spray Alcohol Between Layers
If creating layered soap, lightly spritz between pours. This helps layers bond cleanly.
Work Cleanly and Quickly
Once soap cools, it thickens fast. Prepare molds, fragrances and colors before melting.
Wrap Finished Bars
Melt & pour soap contains moisture. Wrapping bars after cooling helps prevent shrinkage or sweating. The best materials are plastic cling wrap, plastic shrink-wrap bags, or polyolefin film.
Keep Notes
Write down fragrance amounts, colors, and pour temps. This is how hobbyists become makers.
Common Mistakes to Avoid
Overheating the Base
Can reduce clarity and alter texture.
Too Much Fragrance
May soften bars or reduce final hardness.
Pouring Too Cool
Creates skinning or uneven surfaces.
Rushing Unmolding
If soft, wait longer. Patience gives cleaner edges.
Why Buy Soap Bases from The Essential Oil Company
We have spent decades helping makers, formulators, and everyday creators work with scent and ingredients more confidently.
When you shop bases with us, you can also source:
- essential oils
- fragrance oils
- carrier oils
Everything needed to create something personal.
Shop Melt & Pour Soap Bases
Explore our Stephenson collection and begin creating custom soaps with confidence.