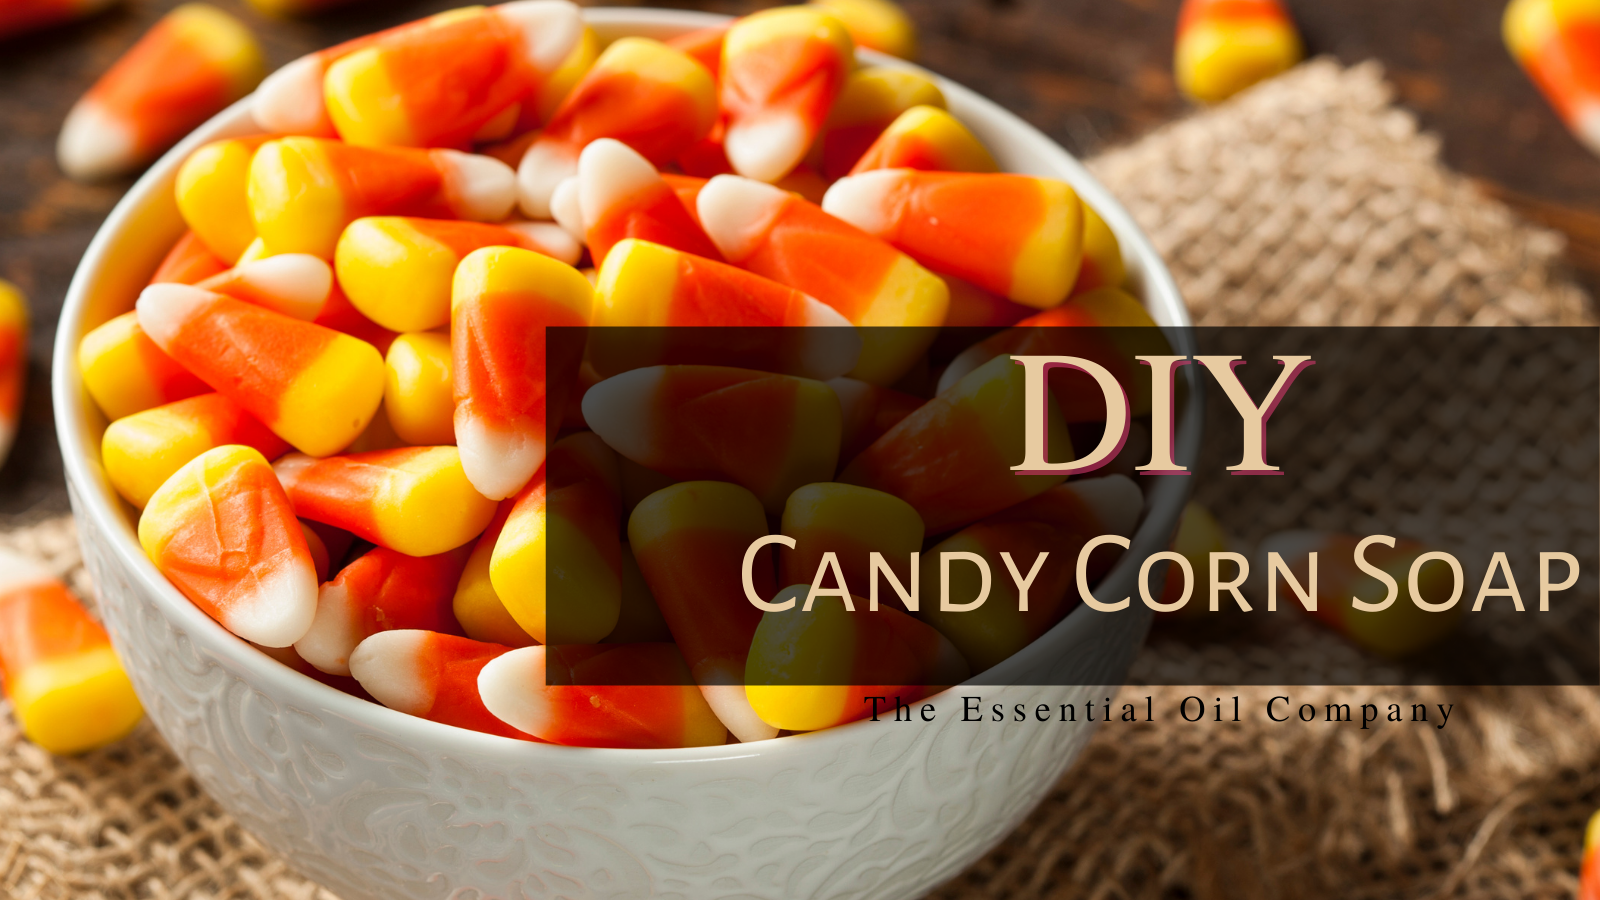
Halloween is here! Kicking off the holiday season with crafts like making soap is so much fun. It's an enjoyable activity the whole family can get involved in. We’ve created this cute candy corn melt & pour soap recipe with easy to follow instructions. Candy corn is such an iconic part of Halloween and once finished, these soaps are really impressive for how easy they are to make. Melt and pour soap is great for creating nice, clean layers like this unique design because it cools quickly allowing you to wait for each layer to cool before pouring the next.

What you’ll need:
- 3 lbs. of Shea Butter Melt & Pour Glycerin Soap
- Bright Yellow Liquid Color
- Sunset Orange Liquid Color
- 30 ml of Vanilla Cream Perfume Oil
- 99% isopropyl alcohol in a misting spray bottle
- Metal or glass bowl and pot (could also use a double boiler)
- A wooden or metal spoon to stir with
- Gloves
-
12” silicone loaf soap mold

Instructions:
1. Boil a pot of water. Put 1 pound of shea butter melt & pour soap into a glass or metal bowl. Place the bowl over a gentle boil and allow the soap to melt, stirring occasionally.
2. Once the soap is completely melted, remove it from the heat and stir in 10ml of vanilla cream perfume oil.
3. Add bright yellow liquid color to the soap. Stir in a few drops at a time until a vibrant color is achieved.
4. Pour the entire soap mixture into the loaf mold. If you are using individual molds just fill them ⅓ of the way.
5. Lightly mist this layer of yellow soap with 99% isopropyl alcohol.
6. Allow approximately 30 minutes for it to harden.
7. Melt another pound of shea butter melt & pour soap.
8. Once melted, remove it from heat and stir in 10ml of vanilla cream perfume oil.

9. Add sunset orange liquid color to the soap. Stir in a few drops at a time until a vibrant color is achieved.
10. Mist the yellow layer of soap with alcohol again and then pour the entire mixture of orange soap on top. If using individual molds, fill them with another ⅓ each.
11. Lightly mist this orange layer of soap with alcohol and allow another 30 minutes for it to harden.
12. Melt the last pound of shea butter melt & pour soap and mix in the rest of the vanilla cream perfume oil. Let it cool for 30 seconds.
13. Mist the layer of orange soap again and pour the entire white soap mixture on top.
14. Allow your soap to dry and harden for at least two hours.
15. Once hard you can remove the soap from the mold. From here you can get creative and cut the soaps into fun shapes. Try cutting them into triangles to look even more like candy corn!

Thirty minutes should be enough time for the bottom layer of soap to harden, giving it the strength to support the top. Pouring each layer after the first at a slightly cooler temperature will also help to prevent breakthrough by making sure that the melted soap being poured is not hot enough to melt the layer below it. Using 99% isopropyl alcohol is the last tool for ensuring nice layers in your design. Spraying each layer of soap, after pouring will help eliminate air bubbles, giving each layer a smooth surface. Spraying the layer again before pouring the next one on top helps to bind the layers together. Be sure to use a bottle with a fine mist as only a very small amount of alcohol is needed in these steps. Remember to wear gloves and always practice caution while working with hot materials.